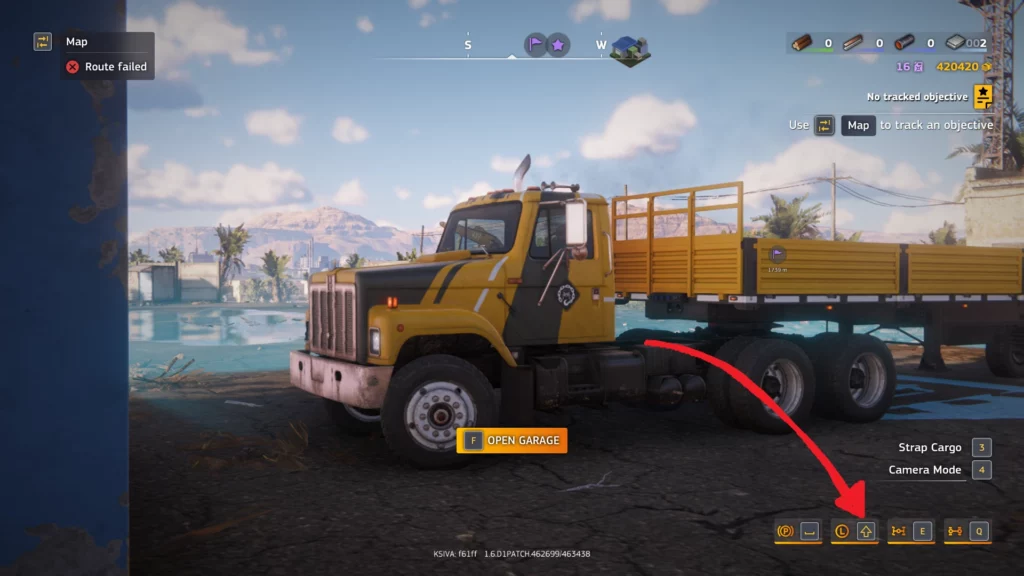

This mod lets you edit all vehicles in-game. You can change basically all properties of a vehicle.
A modern, user-friendly Windows Forms application for editing vehicle .cls files for RoadCraft. Built with .NET 8 and C# 12.
NOTE: Even though some settings show up for some vehicles they don’t always work!
NOTE2: On some resolutions the app fails to render. Follow these steps to fix it:
Right click the exe file and select “Properties”
Switch to Compatibility tab
Change high DPI settings
Tick “Override high DPI scaling behaviour”
Set Scaling performed by: System / System (Enhanced)
🚀 Features
Edit vehicle properties
User Settings: Add your own custom settings via user_settings.json
Grouped UI with labels for clarity
Flexible saving: Save as .cls, export as mod folder, or inject into .pak
🖥️ Getting Started
1. Installation
Download the latest release from Nexus. Optionally look at “Mirrors” tab, there you can find the app in GitHub.
Extract the ZIP file to a folder of your choice
2. Launching the Editor
Run RoadCraft Vehicle Editorv2.exe
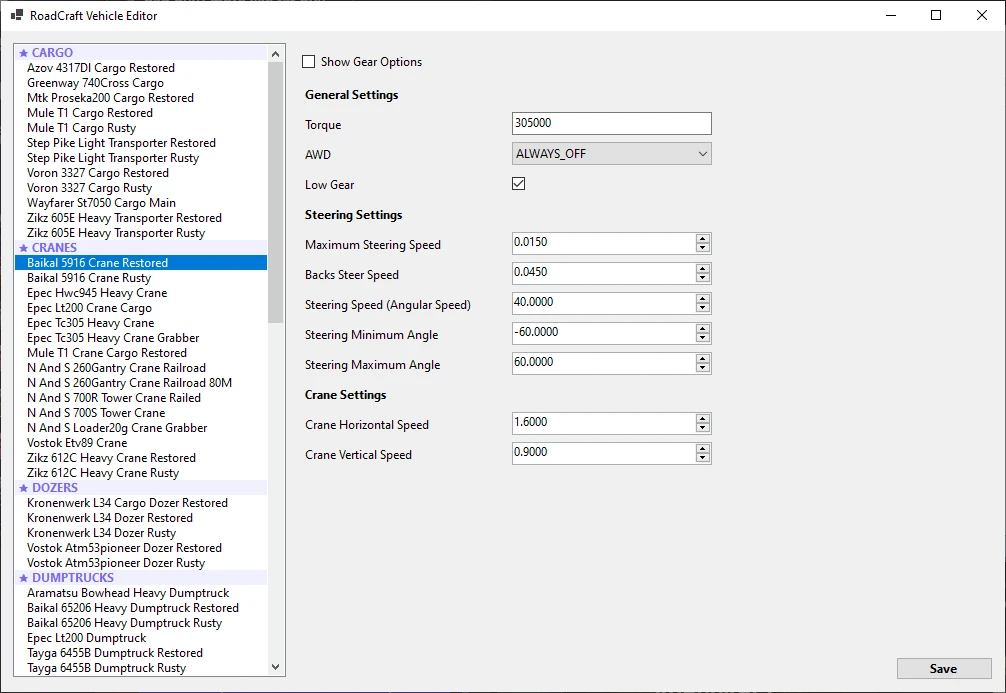
The main window will appear with a list of available vehicles
🏗️ Usage Instructions
Selecting a Vehicle
On launch, you’ll see a categorized list of vehicles on the left.
Click a vehicle to load its properties.
Editing Properties
Properties are grouped (General, Dump, Steering, etc.) with bold labels.
Each property is shown with a label and an appropriate editor (textbox, dropdown, checkbox, or numeric up/down).
Show Gear Options: Toggle the checkbox at the top to show/hide advanced gear settings.
Saving Changes
After editing, click the Save button. You will be prompted with three options:
Save to file: Export a .cls file to a location of your choice (cannot overwrite originals).
Save to .pak file: Inject your modified vehicle directly into game .pak file (default_other.pak).
Save to folder structure: Export as a ready-to-use mod folder structure.
Make sure you delete default_other.pak.cache before starting the game!
⚙️ User Settings
What are User Settings?
User settings allow you to add custom properties to the editor, which are not part of the built-in set. These are always grouped under the User category and clearly labeled in the UI.
How to Add User Settings
Open the user_settings.json file in the application directory.
Add your custom settings as JSON objects in the array.
Field Descriptions
Path: The property path in the .cls file (required).
PrettyName: The label shown in the UI (required).
ForcedType: (Optional) Force the editor type. Valid values: String, Int, Float, Double, Bool.
Filter: (Optional) For list properties, filter by a sub-property value (e.g., constraintName = “dump”).
FilteredSubProperty: (Optional) The property to edit within the filtered object.
Reloading User Settings
User settings are loaded at application startup.
To apply changes, restart the application after editing user_settings.json.
📝 File Structure
RoadCraft Vehicle Editorv2.exe – Main application
vehicles/ – Folder containing all vehicle .cls files
user_settings.json – Your custom user settings
Helper/, Parser/ – Application logic
❓ FAQ
Q: Can I edit any property?
A: You can edit any property exposed in the UI. For custom properties, add them to user_settings.json.
Q: Can I break my game with this?
A: Editing .cls files can affect game behavior. Always back up your files before making changes.
Q: How do I add a new property type?
A: Use the ForcedType field in your user setting. Supported types: String, Int, Float, Double, Bool.
Q: Why is my user setting not showing?
A: Check your JSON syntax and ensure the Path and PrettyName fields are set. Restart the app after editing.
🐞 Troubleshooting
If the app fails to start, ensure you have .NET 8 runtime installed.
If you see errors about missing files, check that the vehicles folder and .cls files are present.
For type conversion errors, check the ForcedType and the actual data in your .cls file.
samu126
